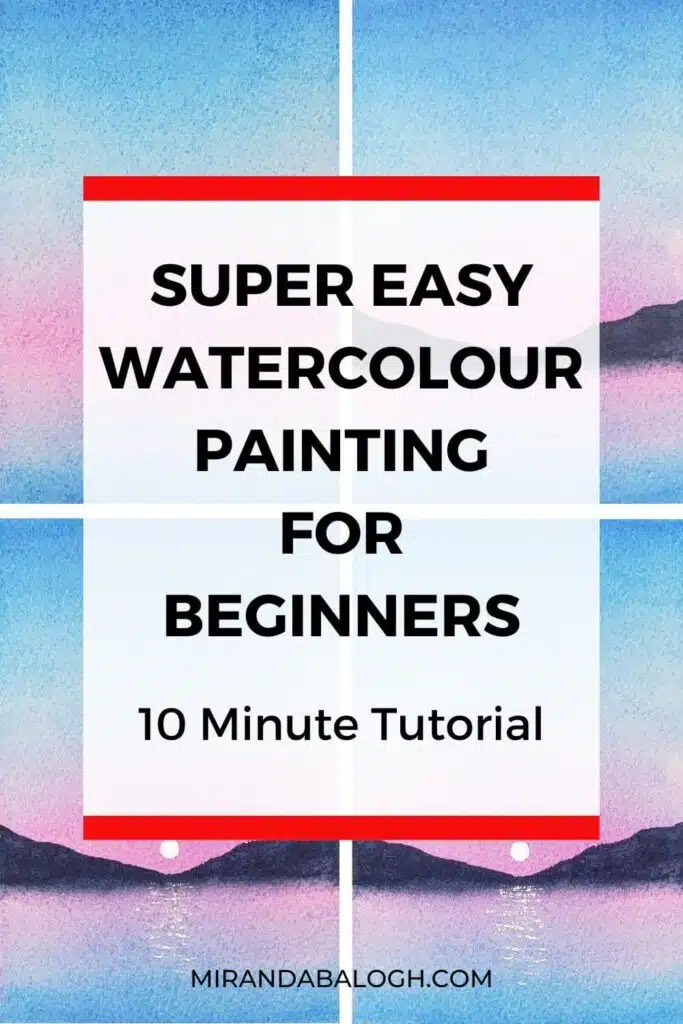
Want to learn how to paint an easy watercolour painting for beginners?
And do you want to paint it in only 10 minutes?
Then you’ve come to the right place!
In this step-by-step watercolour tutorial, I’m teaching you:
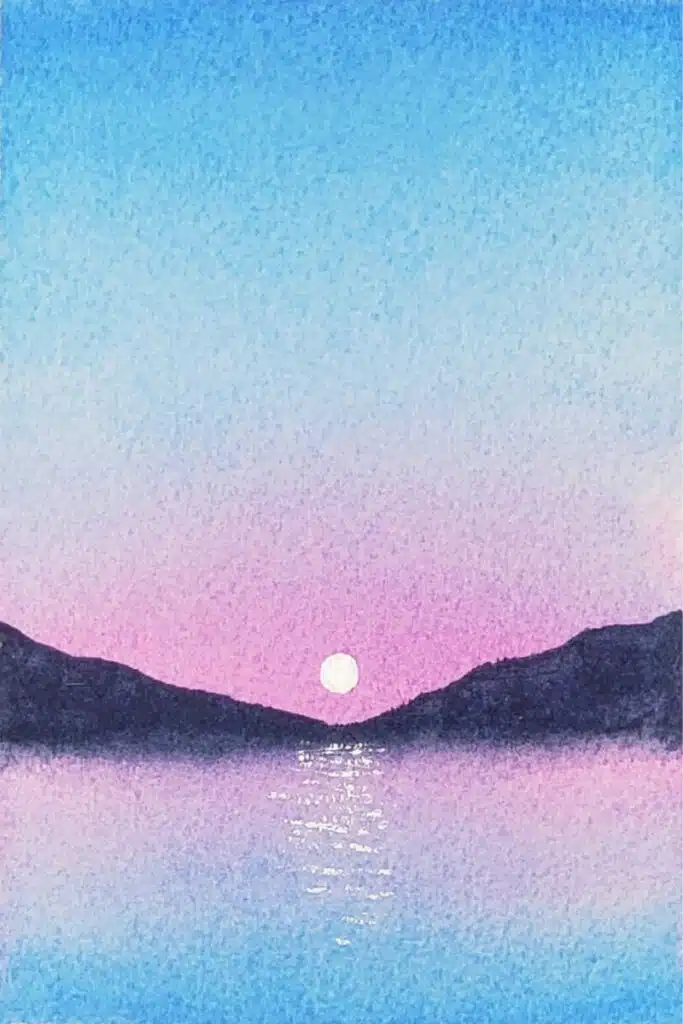
- How to paint a simple watercolour lake with a moon.
- How to apply the wet-on-wet and wet-on-dry techniques.
- How to use the dry brush technique to create texture.
So without further ado, let’s get started!
DISCLOSURE: This page contains affiliate links. If you make a qualified purchase using any of the links, I’ll earn a small commission at no extra cost to you. I appreciate every sale because it allows me to create free content to promote the growth of this website.
Table of Contents
Watercolour Supplies You Will Need
Before you begin, make sure you have the following supplies:
- Watercolour paints (I’m using Sennelier l’Aquarelle Watercolor Paints)
- Watercolour brushes (I’m using Silver Black Velvet Brushes)
- Watercolour paper (I’m using Arches Cold-Pressed Paper)
- Mixing palette (I’m using Meeden Porcelain Mixing Palette)
- Masking tape (I’m using Pro Artist Tape)
- White gouache (I’m using Pebeo Studio White Gouache)
How to Paint an Easy Watercolour Painting Step-by-Step
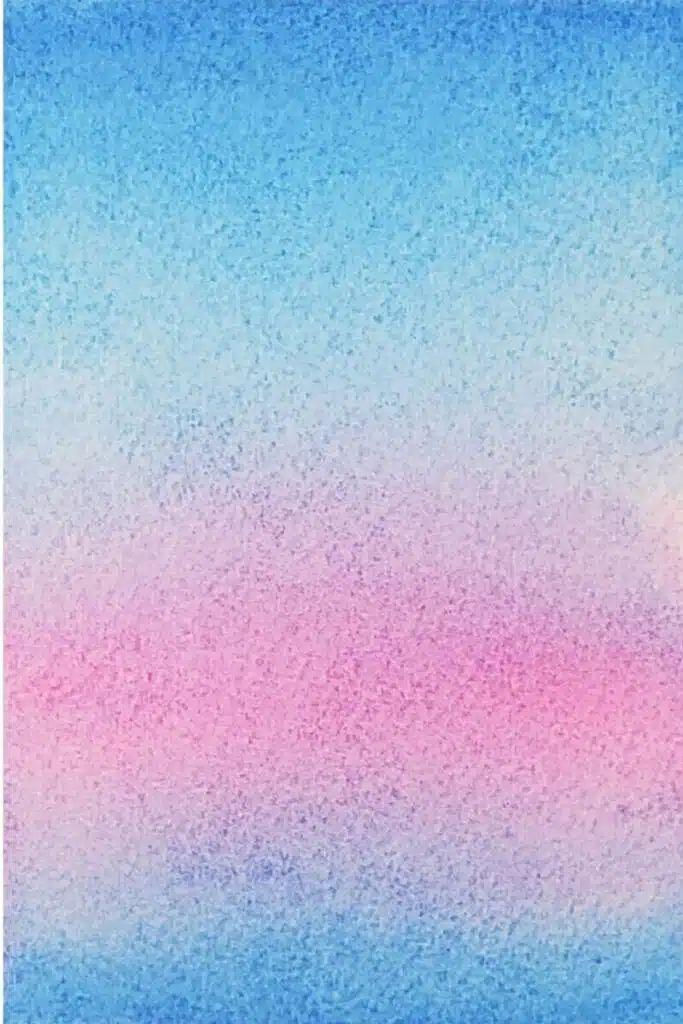
Step 1: Paint the Background Sky
- Load up your mop or large flat brush with clean, clear water.
- Use horizontal and vertical strokes to apply the water evenly all over the paper. You should see an even sheen of water on the surface of the paper.
- Switch to a size 8 round brush and load it up with pink pigment (I’m using Opera Rose). Add the pigment to the lower third of the painting. This is where we’ll paint the horizon line.
- Rinse off your brush and load it up with blue pigment (I’m using Phthalo Blue). Add the blue pigment at the bottom of the paper and blend it upwards to blend with the pink pigment, which creates purple.
- Last, add the blue pigment to the top of the paper and blend it downwards until it blends with the pink pigment to create subtle purple tones.
- Wait for the layer to dry.
Step 2: Paint the Mountains
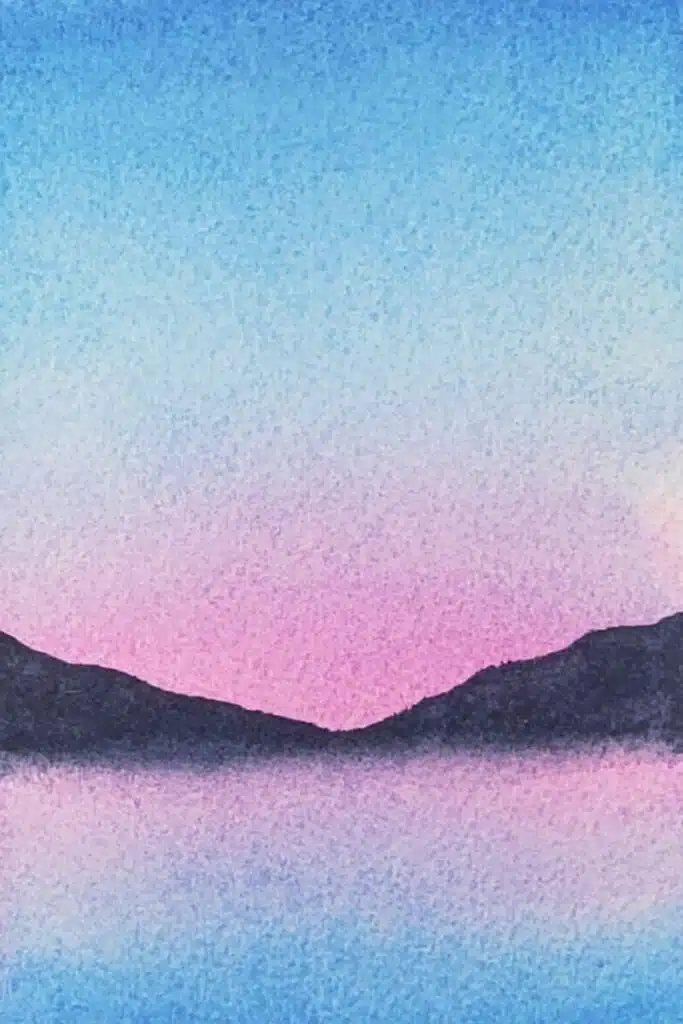
- Dilute some blue pigment in your mixing well and combine it with a dark grey pigment (I’m using Payne’s Gray). Mixing these two pigments creates a dark blue/indigo colour.
- Draw a straight line in the middle of the pink section. This is the horizon line, and it distinguishes the point where the sky and the earth meet.
- Next, paint two sloping mountains that converge in the middle of the painting so that it looks like a V shape. Draw the outlines of the mountains and then fill them in with the dark pigment.
- Add extra pigment to refine the shape of the mountains. They should look uneven with some bumps and dips. This gives them a more organic appearance.
- While the paint is still wet, rinse off your brush and load it up with clean, clear water.
- Then, drag the bristles along the horizon line to blend the dark blue pigment into the pink pigment. Do this two times to create a smooth transition. It should look like the distant mountains have reflections on the water.
- Wait for the layer to dry.
Step 3: Paint the Moon and Reflections
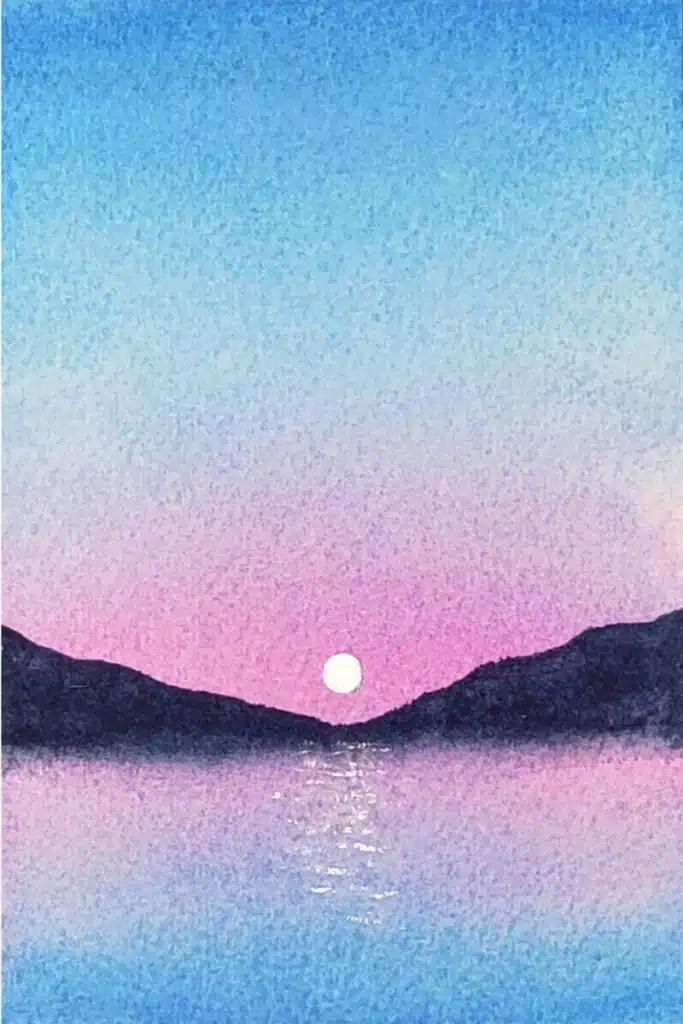
- Switch to a round 4 brush and load it up with white gouache. You can apply the pigment without diluting it. Alternatively, use white ink if you don’t have gouache.
- Next, use the tip of the brush to paint a small circle at the lowest point where the mountains converge. As you can see, the composition of the mountains draws the viewer’s eyes to the moon.
- Last, dilute the white pigment with a tiny bit of water. Use the dry brush technique to add the white gouache to the surface of the lake. This texture creates reflections of the moon on the water.
- Wait for the layer to dry.
Step 4: Refine the Moon and Reflections
- Once the layer has dried, load up your brush one last time with white gouache and lighten the moon a little bit if you need to.
- Then, use the dry brush technique to add more reflections onto the surface of the water. Make sure the reflections are lighter and more abundant the closer they are to the moon. Conversely, the reflections should be less light and more sparse the further away they are from the moon.
- Wait for the layer to dry.
Conclusion
Congrats for completing this easy watercolour painting!
Wasn’t that fun and easy? You can take this tutorial one step further by painting it again using a different colour palette.
Now, here’s what I suggest you should do for your next steps.
If you enjoyed this easy tutorial, I strongly recommend that you check out these watercolour tutorials because they’re perfect for beginners:
- How to Paint Watercolour Florals for Beginners (10 Minute Tutorial)
- How to Paint Watercolour Tulips (Easy 5 Minute Tutorial)
- How to Paint Lilac in Watercolour (5 Minute Tutorial)
- Easy Watercolour Forest Tutorial for Beginners (With Pine Trees)
Miranda Balogh
Artist & Online Educator




Leave a Reply