Are you looking for an easy watercolour forest tutorial that’s beginner-friendly?
If so, you’ve come to the right place!
In this easy step-by-step watercolour tutorial, you’ll learn:
- How to apply the wet-on-wet technique to create a simple blue sky background.
- How to paint easy pine trees by applying the wet-on-dry technique.
- How to layer the trees multiple times to create the watercolour forest.
Without further ado, let’s get started!
Table of Contents
How to Paint an Easy Watercolour Forest for Beginners: Video Tutorial
Watch the video tutorial on YouTube to follow along with the step-by-step painting process.
Or, if you prefer reading text and looking at reference images, check out the tutorial below.
Easy Watercolour Forest Painting: Step 1 Paint the Background

Dilute Phthalo Blue (or another blue of your choice) into a mixing well by combining the pigment with water. Then, load up your mop or large flat paintbrush.
Next, use the wet-on-wet technique to paint the blue sky background. Start at the top of the page (where the pigment is most concentrated) and work your way down the paper.
Add more water as you progress down the page so that the blue pigment becomes fairly light by the time it reaches the bottom of the paper.
Wait for the layer to dry.
Step 2: Paint the Background (2nd Layer)

Next, use the wet-on-dry technique to paint the blue sky background. Switch to a round brush this time and don’t worry about making the sky perfectly smooth.
So, start at the top of the page (where the pigment is most concentrated) and work your way down the paper. Add more water as you progress down the page so that the blue pigment becomes lighter.
If you need to, add a bit more pigment to the top to make the sky appear more vibrant.
Wait for the layer to dry.
Step 3: Paint the Forest Ground

While the first layer is drying, dilute Forest Green (or another green of your choice) into a mixing well. In the paint-to-water ratio, there should be equal parts paint and water.
Switch to your round brush and paint an uneven line near the bottom of the paper. This line represents the ground.
To make it look realistic, the ground should be uneven and somewhat sloped. Fill in the entire area with pigment at the bottom of the page.
Wait for the layer to dry.
Step 4: Paint the Pine Trees in the Background
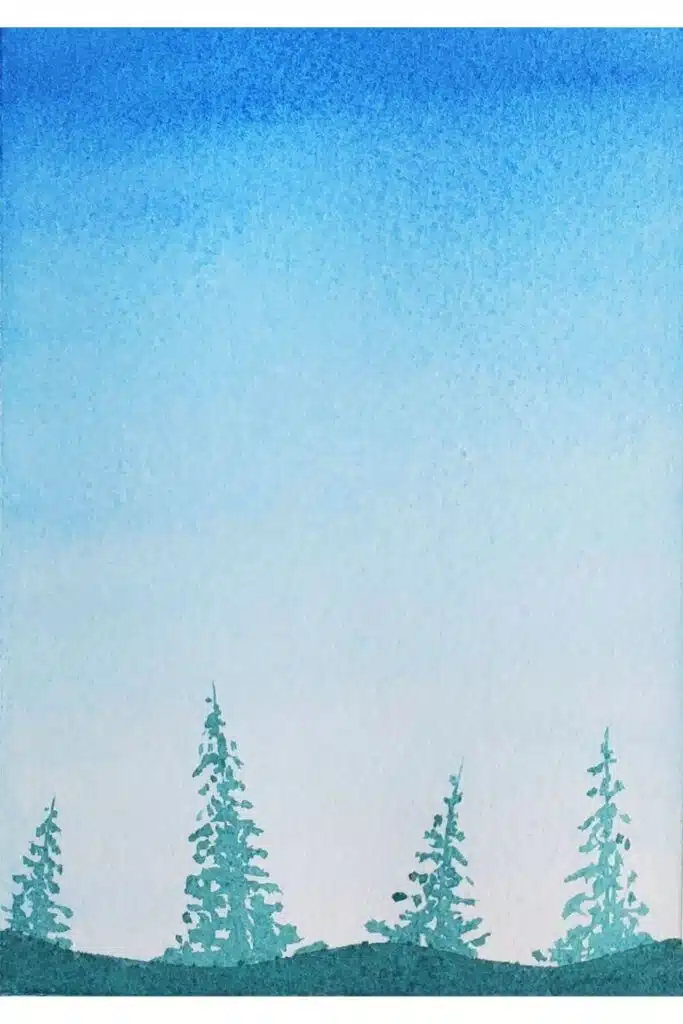
Load up your round brush with lightly diluted green pigment and draw several thin lines along the bottom third of the paper. These think lines represent tree trunks.
Then, use the tip of your brush to create small dabs of paint at the top of the trunk. The top of the tree trunk should be lighter and more sparse.
As you work your way down the tree trunk in a zigzag, the dabs of paint should become darker and fuller to indicate more volume at the bottom.
Wait for the layer to dry.
Step 5: Paint the Pine Trees in the Foreground
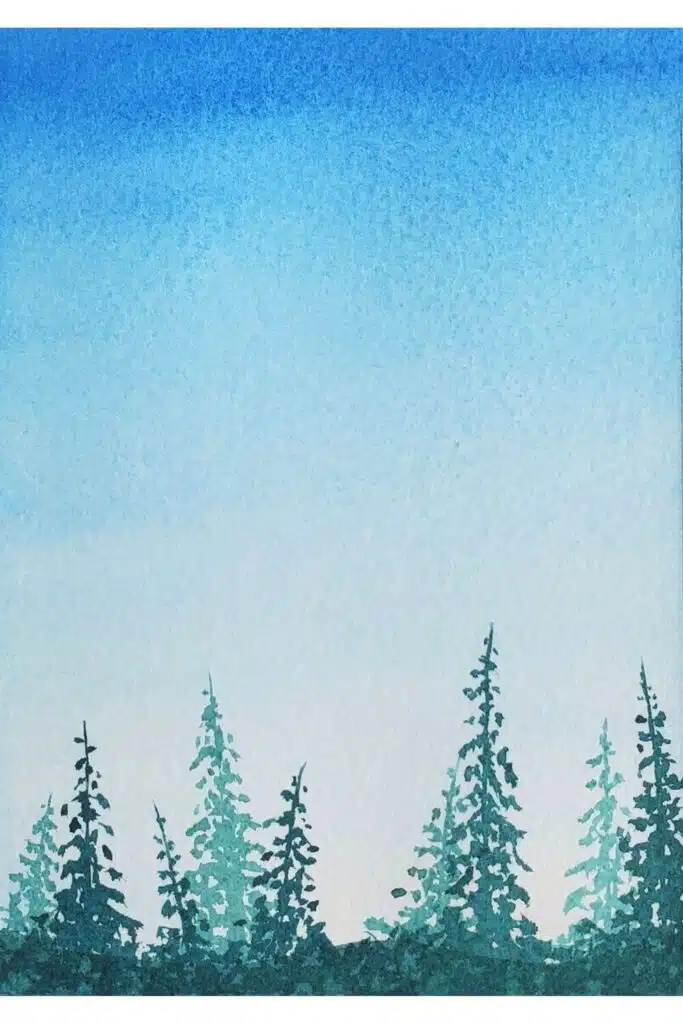
Repeat the steps from the previous section once again. But this time, make sure that the trees overlap one another.
As well, this layer of pine trees needs to incorporate medium values because these trees are closer to the foreground.
Wait for the layer to dry.
Step 6: Paint the Pine Trees in the Foreground
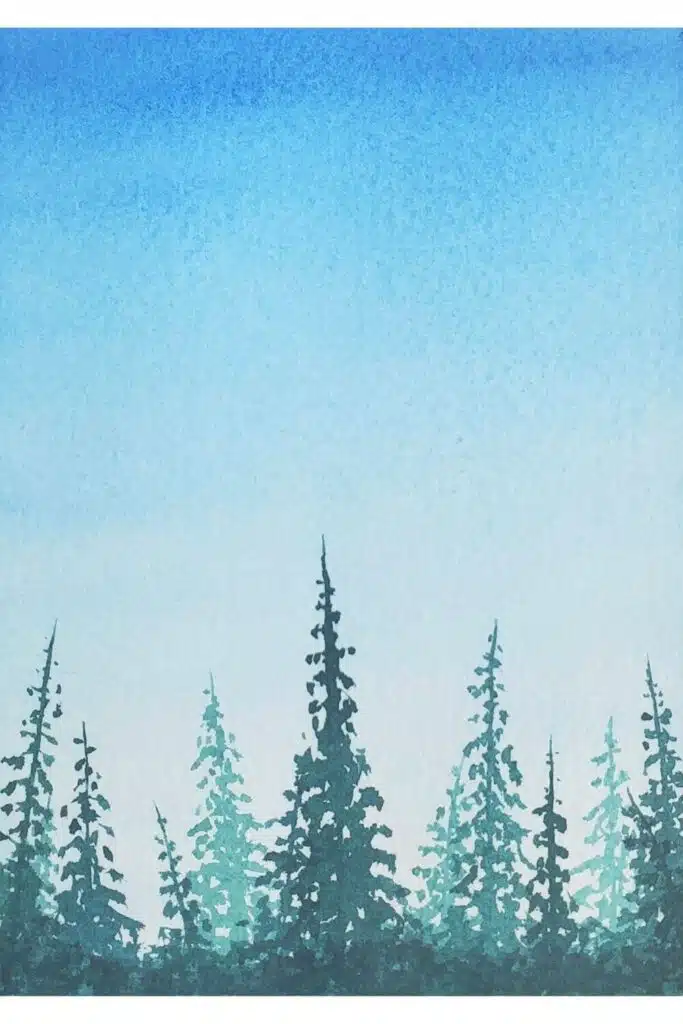
Last, repeat the steps from the previous section one last time. The trees you paint in the foreground should be the darkest because objects closer to the viewer are easier to see.
Since these trees are easier to see, add some more texture to the branches.
Finally, darken the pigment along the bottom of the painting to create the texture of grass.
Wait for the layer to dry.
Conclusion
Congratulations, you just completed the watercolour forest tutorial!
Now, you have the knowledge to paint watercolour forests. So, try experimenting with different trees and colours to create variations of this painting.
As for your next steps, I recommend the following. If you enjoyed this step-by-step watercolour tutorial, then check out the following tutorials:
- Super Easy Watercolour Painting For Beginners (10 Minute Tutorial)
- How to Paint Watercolour Florals for Beginners (10 Minute Tutorial)
- 3 Awesome Watercolour Warmups to Help You Paint Better

Miranda Balogh
Artist & Online Educator


Leave a Reply